To contact us Click
HERE
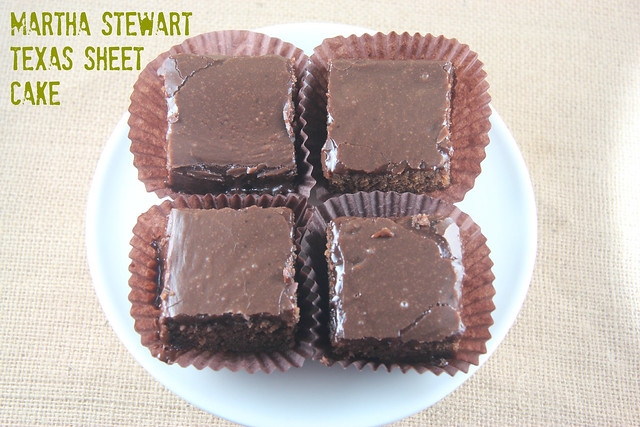 Martha Stewart Texas Sheet Cake
Texas Sheet Cake is one of my favorite treats to make. It comes together SO FAST. You can get it done in a jiffy and it's always a winner with friends and family.
This recipe is from Martha Stewart's book "Martha's American Food: A Celebration of Our Nation's Most Treasured Dishes, from Coast to Coast". The recipe is available online with Los Angeles Magazine.
I've made a few Texas Sheet Cakes in the past. Pioneer Woman has a great one. It is thinner because you use a half-sheet pan, but you can get it done start-to-finish in less than an hour. I make her recipe often. I've also made the Better Homes & Garden version.
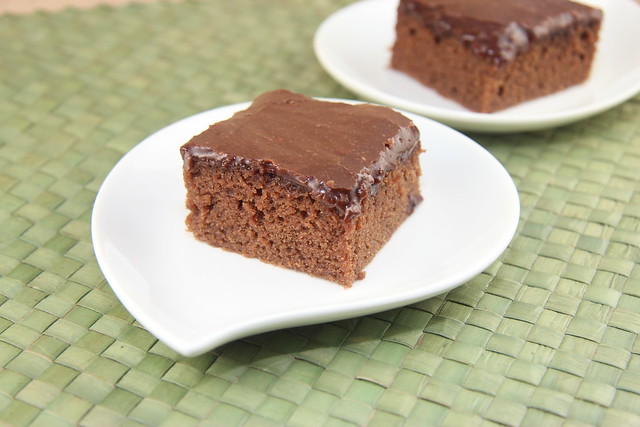
Texas Sheet Cake comes together quickly because you boil the butter, water and cocoa together for the batter, and then boil the icing or frosting while the cake is baking in the oven. Instead of waiting for the cake to cool like most other frostings, with Texas Sheet Cake, you pour the frosting on a WARM cake. Easy peasy, no?
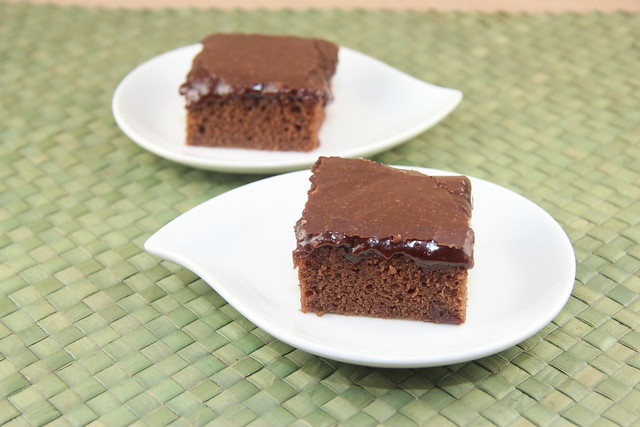
I found the cake really yummy. I like baking it in a 9 x 13 pan (compared to the larger half-sheet pan) so you can make it a bit taller - more like a sheet cake instead of brownies. The baking time was very different than the recipe (recipe: 12-14 minutes, me: 21 minutes). Also, I prefer the Pioneer Woman's icing. Martha's recipe has heavy cream in the frosting - while yummy, sometimes I don't have cream in the house.
Recipe from: Martha's American Food: A Celebration of Our Nation's Most Treasured Dishes, from Coast to Coast
Texas Sheet Cake1 cup (2 sticks) unsalted butter
2 cups all-purpose flour
2 cups sugar
1 teaspoon baking soda
¾ teaspoon coarse salt
½ teaspoon ground cinnamon
¼ cup unsweetened cocoa powder (I used Hershey's)
1 cup water
2 large eggs, lightly beaten
½ cup buttermilk
1 teaspoon pure vanilla extract
Boiled Chocolate Icing (see below)
1 ¼ cups coarsely chopped toasted pecans (I omitted the nuts)
1. Preheat oven to 375°F. Lightly butter a 9-by-13-inch baking pan. Whisk together flour, sugar, baking soda, salt, and cinnamon in a large bowl.
2. Melt butter in a saucepan over medium-low; whisk in cocoa, then the water. Raise heat and bring to a boil, whisking occasionally. Pour over flour mixture and stir until thoroughly combined. Stir in eggs, buttermilk, and vanilla.
3. Pour batter into prepared pan and tap firmly on counter to release air bubbles. Bake until sides pull away from edges of pan and a cake tester inserted in center comes out clean, 12 to 14 minutes (
Mine took 21 minutes to bake). Transfer pan to a wire rack and pour icing over cake while still warm. (Sprinkle nuts on top, if using). Let cool before slicing into squares and serving.
Boiled Chocolate Icing½ cup (1 stick) unsalted butter
¼ cup unsweetened cocoa powder
½ cup heavy cream
2 teaspoons pure vanilla extract
2 cups confectioners’ sugar (I suggest sifting the powdered sugar)
Bring butter, cocoa, and cream to a boil in a small saucepan, stirring occasionally. Remove from heat, and stir in vanilla and confectioners’ sugar. Use while still warm. Pour over warm cake.

 6 bell peppers
 For the Stuffing:


.jpg)

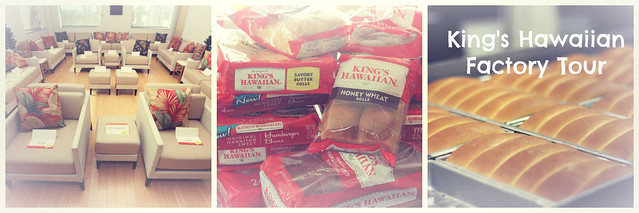
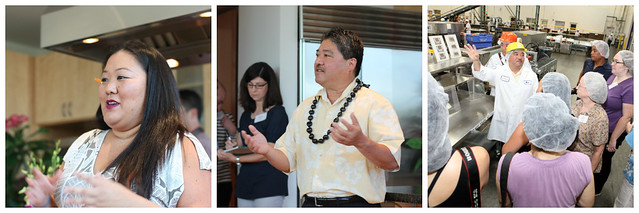 Mark Taira, son of founder Robert Taira spoke about his dad founding the bakery in Hilo, Hawaii in the 1950's. Mr. Taira's neighbor would bake a Portuguese round sweet bread that only lasted one day. Mr. Taira perfected the recipe to last much longer and an industry was born. After setting up in Honolulu in 1963, on King Street, his bread became known throughout the state. Then, in 1977 they opened the factory in Torrance, California. We visited the second factory in the South Bay. What was even more exciting? It was the very first time non-family and friends of the founders were allowed to tour the facility!
 Nothing like seeing thousands of fresh hot dog buns whirling along conveyor belts...from rolling out, proofing, baking and packaging. We saw the new hot dog buns being produced as well as the delicious honey wheat rolls. At the end of the tour, they lifted a few boxes off the belt and served them up with butter. Literally, hot from the oven!
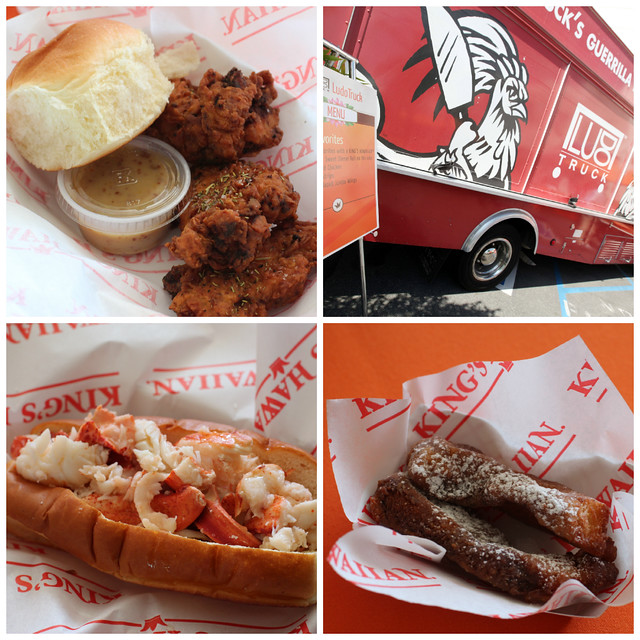 After the tour, we were treated to a wonderful lunch. King's brought in the best food trucks to make special meals on King's Hawaiian bread. Lobsta Truck rolls with butter on the new hot dog bun? OMG....so delicious! The Buttermilk Truck made french toast sticks with King's bread for a sweet treat. The Ludo Truck makes crispy, perfectly seasoned chicken, and the Kogi Truck short rib sliders on King's rolls were amazing. In addition, the King's family made delicious tail-gate treats - great ideas for the upcoming football season!
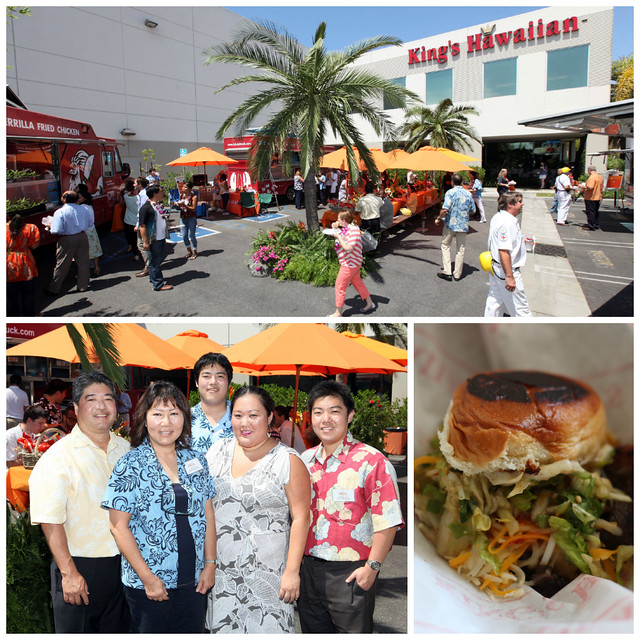 Three generations of Taira's work at the King's Factory and Restaurants including the founder's brother (not pictured) who rises everyday and works in the bakery. With so much of our food made by large multi-national conglomerates, it was special to see a successful, Southern California family business. And, as my mom would say, "Okinawan too!"
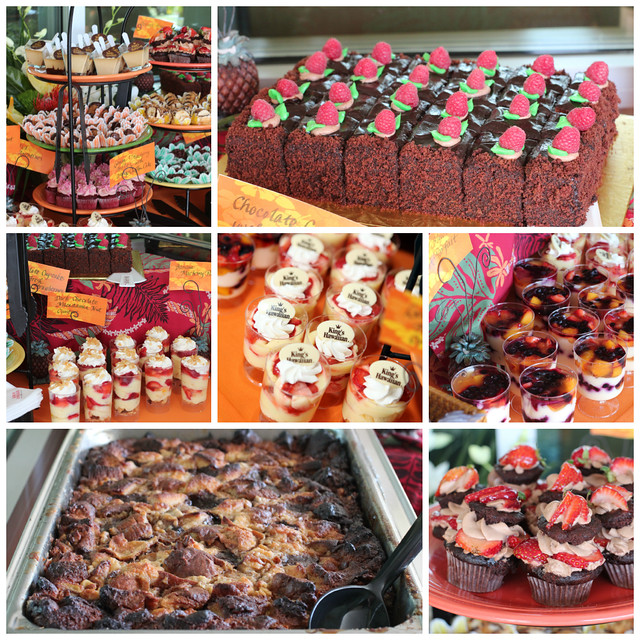 The dessert buffet was outstanding...including two types of bread pudding made with King's Hawaiian bread. Have you been to the King's Hawaiian Restaurant and Bakery in Torrance? Another reason to visit the cool ocean breezes in the South Bay of Los Angeles. I love the Paradise cake, and blogged about it here and here.
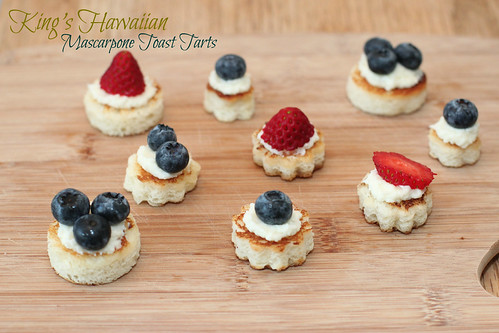 I went home and opened the largest swag box ever. It contained every one of King's products, an apron, Hawaiian coffee & candies - oh my! I made a simple dessert with mascarpone fruit toasts - find the recipe in the next post.
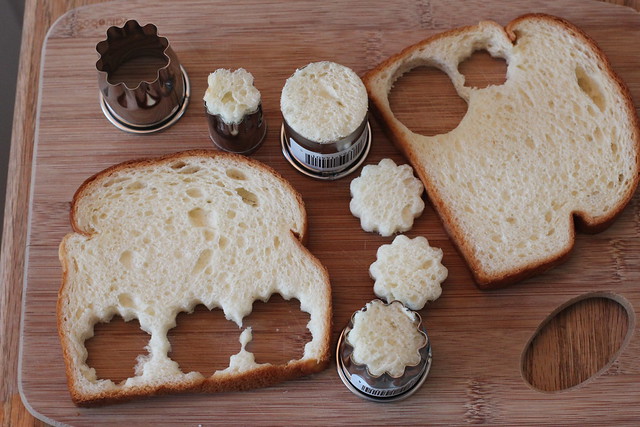 I wanted to make a super easy treat you can throw together in a flash. Just cut King's Hawaiian bread into shapes, toast with butter, and top with a sweetened mascarpone cream mixture and fresh fruit. How easy is that?! I used some Ateco rounds and scalloped edge cutters.
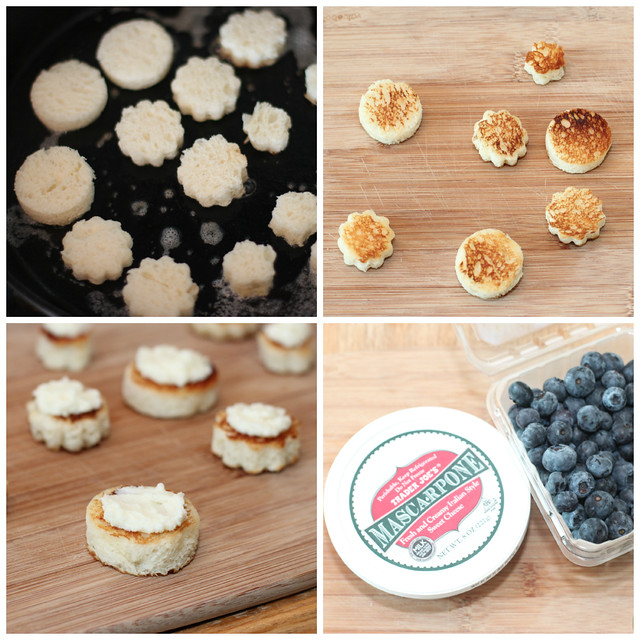 I toasted the bread pieces in my cast iron pan with butter. You can adjust the amount of butter to suit your tastes...it only takes a few minutes. A simple mixture of mascarpone cream, sugar and cream is spread on the toast pieces.
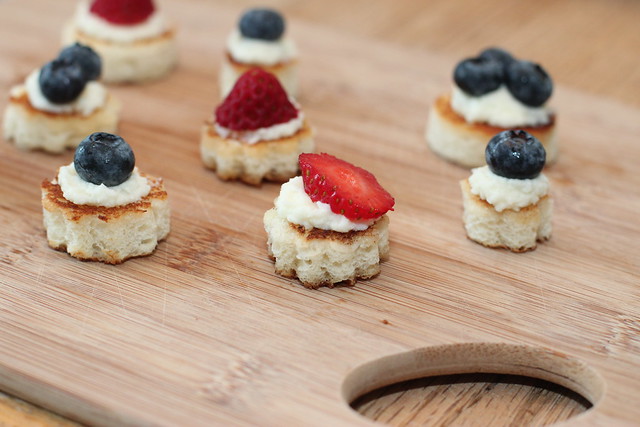 Top with any fruit you have available... a slice of peach, nectarine, pear or kiwi would be nice too.
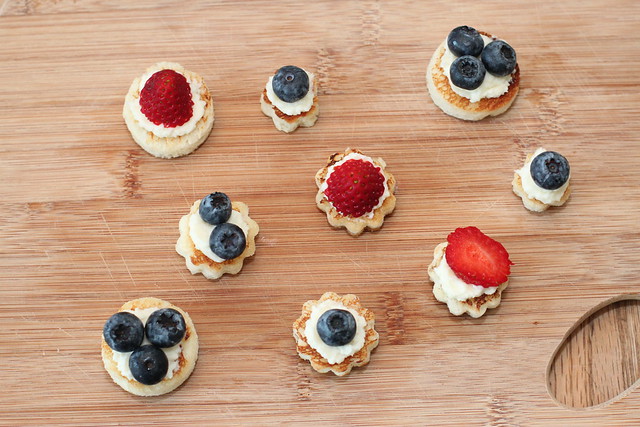 I used a mascarpone, sugar and chilled heavy whipping cream mixture on top of the toasted Kings Hawaiian bread similar to this one I used to fill pastry shells for a wedding.
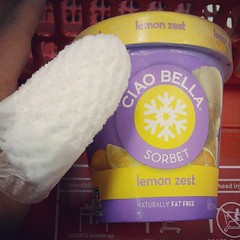
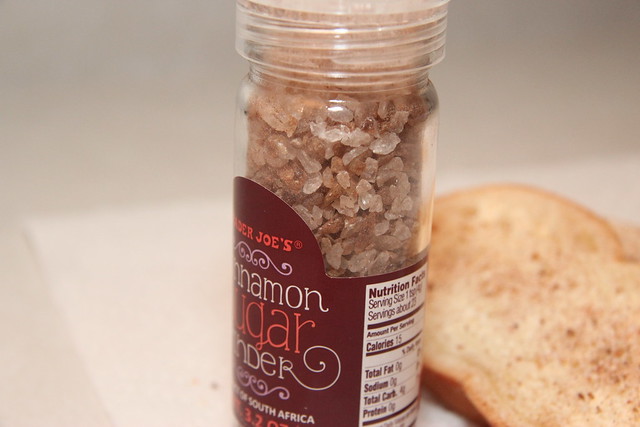 The grinder is full of sugar and cinnamon chunks that you can grind into your own topping. I've used it on toast, but it would be great on baked apples, warm fruit, or as a easy topping when you bake muffins.
 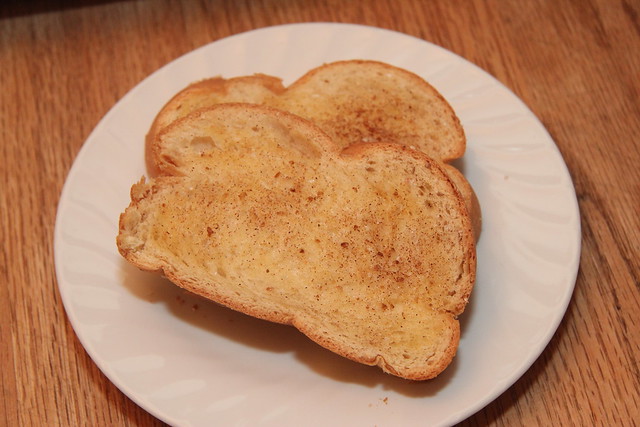 Don't have a Trader Joe's near you? Well, let me pause for a moment to feel sooooo bad for you! I have a friend who lived in Colorado for some time and finally moved back to California, yelling the whole drive back, "I'm going to live near Trader Joe's again!!"
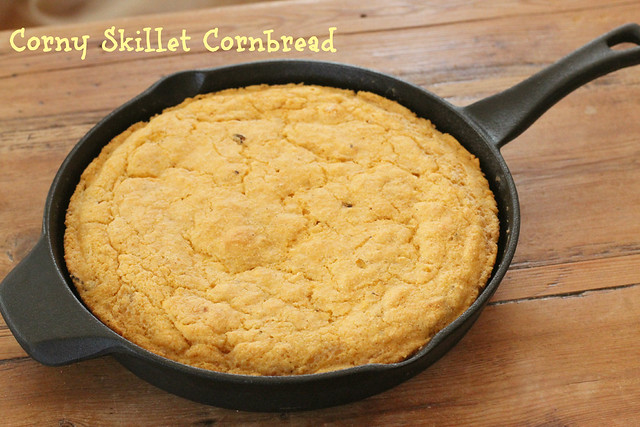
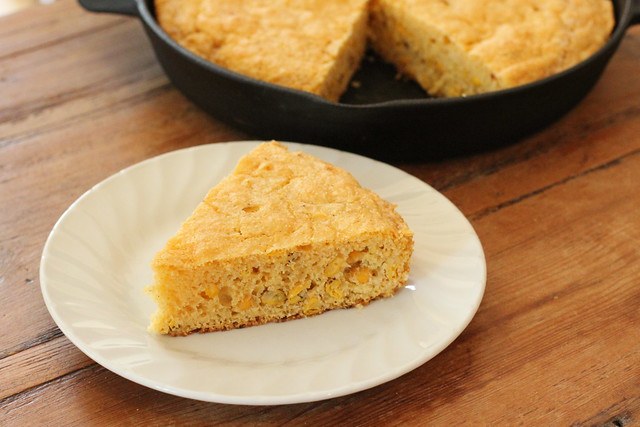 I added some corn to the cornmeal to make it corny. Hee hee. This isn't "cake" with some cornmeal (like the Marie Callender's type), this is cornbread. It would be great as a base for stuffing.
 Ouch! Stitches in the thumb!
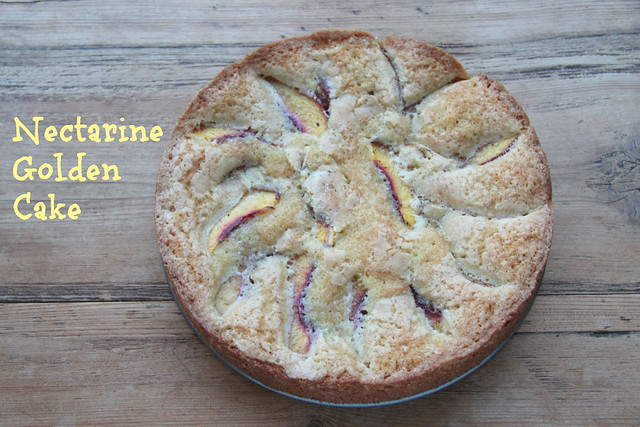
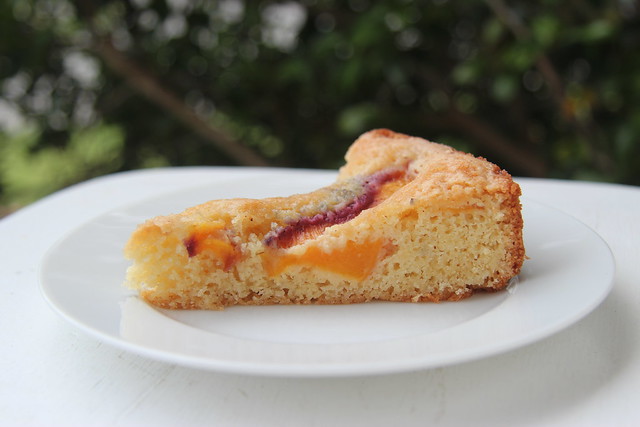 As summer winds down, give it one last shout out with this easy cake. It's perfect for Labor Day brunch...right before you turn on the BBQ.
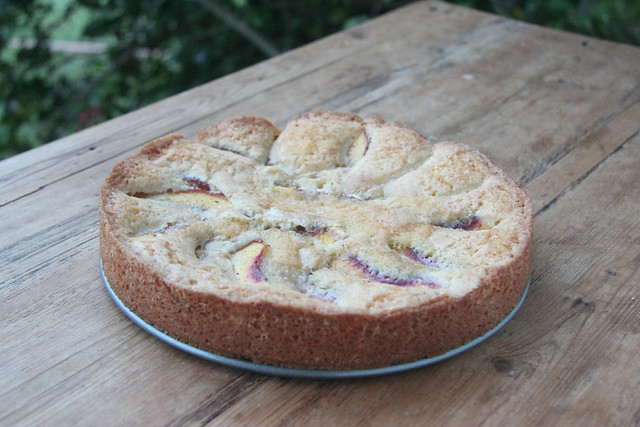 Sweet fruit. Light cake. Simple recipe. It's summer on a plate.